Dehydrating
When it is easy enough to buy dried food at the supermarket your first question might be “Why do it myself?” There are a number of good reasons:
- Firstly it’s a lot cheaper – dried food can be expensive!
- Your home made fruit will have no added sulphur – sulphur dioxide is sometimes added to commercially dried food to preserve its colour and has been known to trigger asthma attacks
- Your food will also have no added sugar – commercially produced dried food often has added sugar
- And lastly by making your own you are helping to reduce the carbon footprint resulting from the transport and packaging costs involved in commercially produced dried food.
Your second question might be “Why dry food anyway?” There are good reasons for this too!
- Dried food lasts longer, so you can extend the availability of seasonal foods
- It’s a great way to use up excess food that the family can’t eat fast enough
- Dried food needs less storage space than fresh food
- It’s easy and it’s fun!

Preparation
First you need to select your food for drying. Most foods are suitable although some are more successful than others but do experiment. For example dried watermelon is as sweet as any toffee!
Ideally your food should be unblemished, ready to eat and not over ripe. If you are using organic food you may not want to peel it (Lemons and oranges sliced thinly with peel attached are great when dried for using in potpourri!) but if necessary remove any peel.
Easy Skin Removal
Some foods will dry better without the skin. Cut a V shape at the base of the fruit with a knife. Drop into boiling water for 30 seconds, then remove and drop into ice water. The skins should come off easily after that.
Soak it
To keep fruit looking pretty and minimize discoloration, soak it in lemon juice and water.
When drying herbs select leaves that are unblemished and look nice and healthy.
Remove pips and stones where necessary.
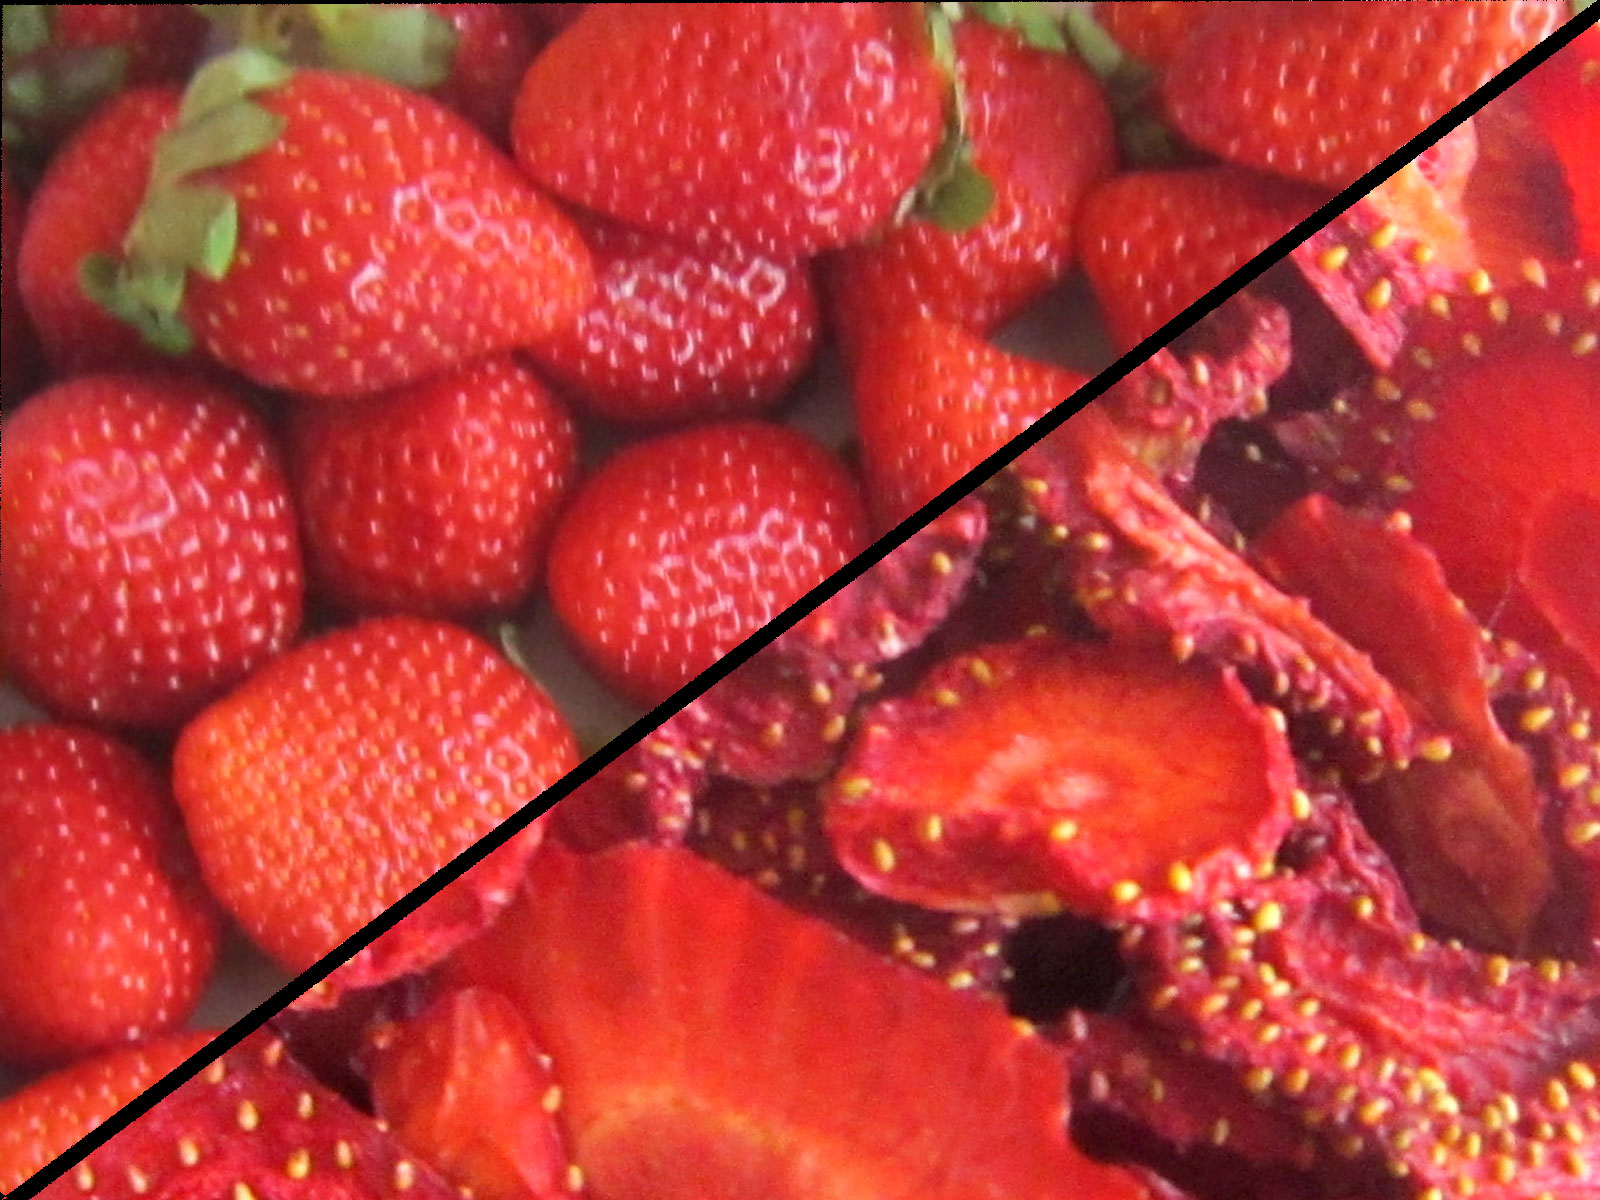
Wash and dry your food (patting with a paper towel works well). Then slice it thinly or for berries and small food, cut into halves. Thinner slices dry faster. Try for uniform sizes as this means the food will dry at the same rate.
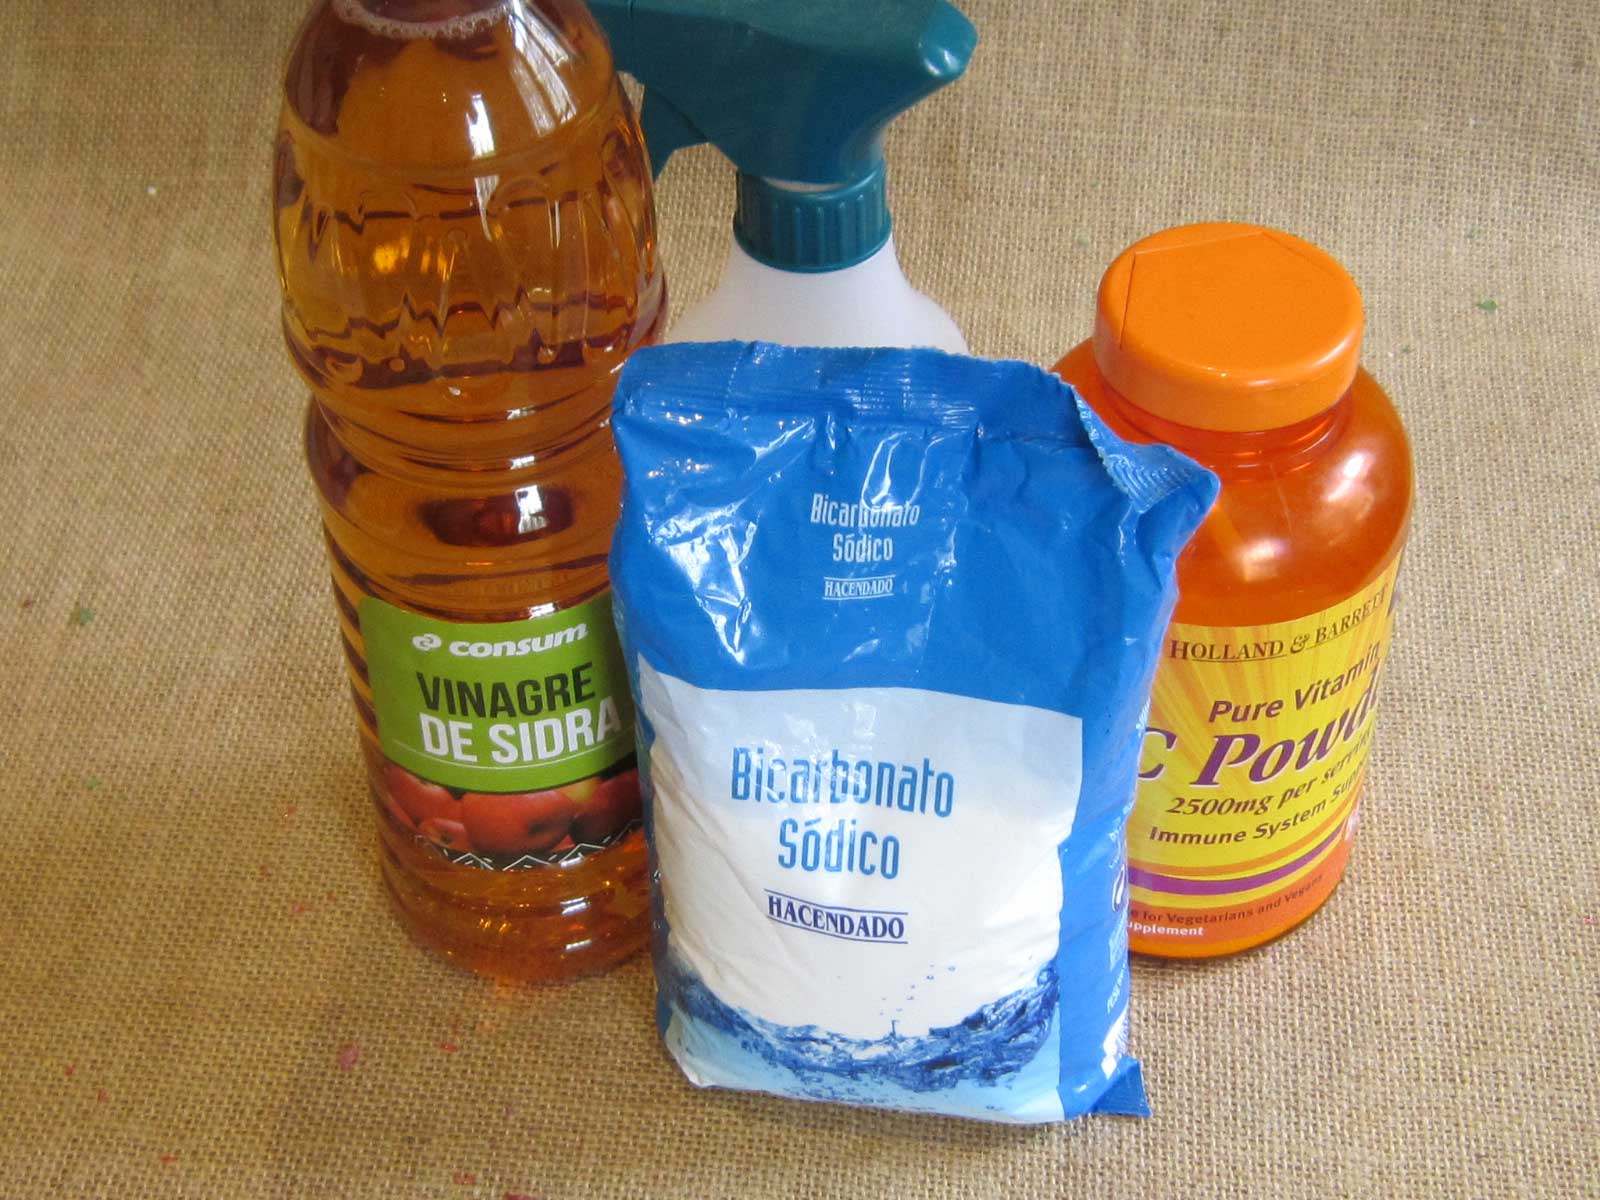
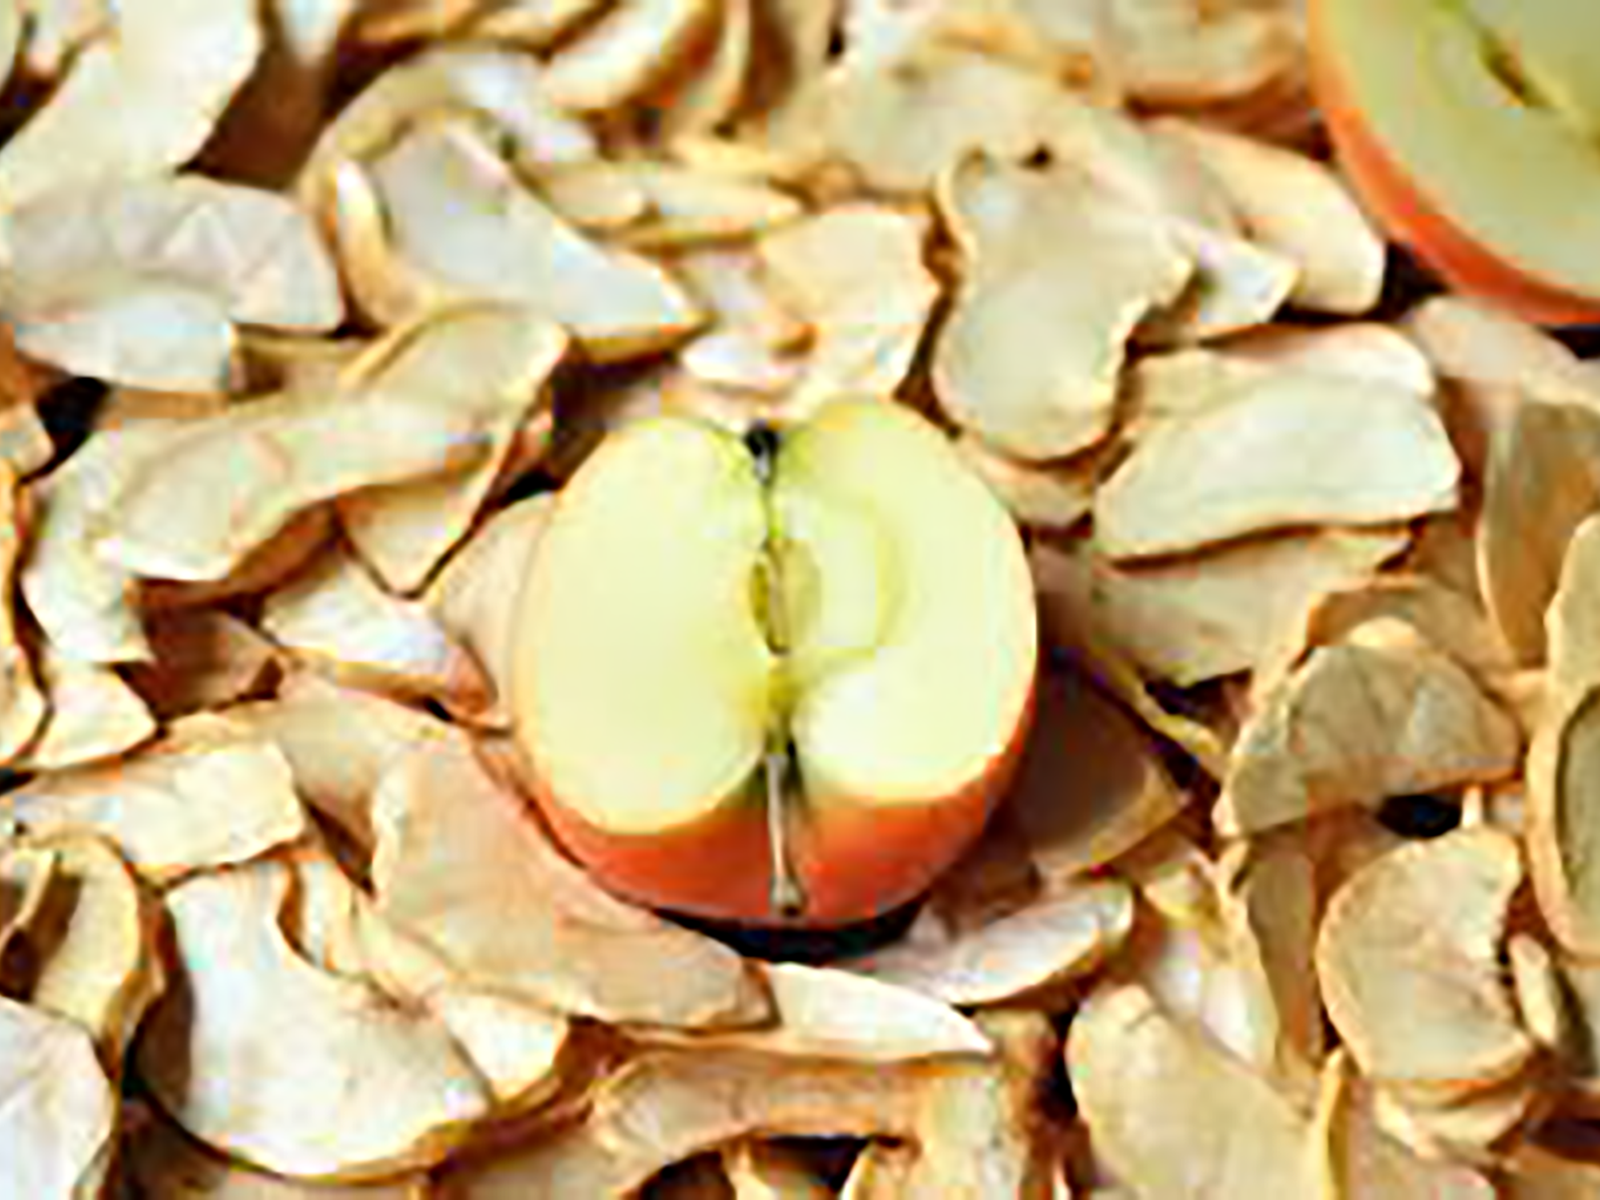
Some foods like apples turn brown when exposed to the air. Soaking these in orange or lemon juice, or a solution of ascorbic acid are safe alternatives to using sulphur. This also of course adds some additional vitamin C!
Use organic ascorbic acid if you can, otherwise crushed vitamin C tablets will also work. Add 2 tablespoons of ascorbic acid – or the equivalent of 5 grams of crushed vitamin C tablets – to one quart of water.
Soak fruit for 10 minutes in the solution of your choice, drain and blot dry.
The Drying Process
There are basically three ways to dry food:
- In the sun
- In an oven
- Using a dehydrator
Sun Drying
Drying food in the sun is only really suitable in temperatures above 100% and where there is no chance of rain for a few days as it can take some time. Keep the food protected from inquisitive or hungry insects, and turn once a day. It can take from two to four days to dry your food.
You could try stringing larger pieces of food like melon slices and apple slices and hanging them outside.
Oven Drying
Oven drying can be done in a conventional oven or a halogen oven. Microwaves work for some foods that are not damaged by the heat. The key is to not heat the food above 140% as then you begin to lose nutrients.
- Conventional oven – Line a baking tray with greaseproof paper and spread your food slices out evenly, making sure they do not touch. Preheat the oven to its lowest setting (no more than 130 degrees F to prevent loss of nutrition). Pop the tray in the oven and allow to dry for between 6 to 10 hours, turning occassionally. Another method is to heat the oven to 350 degrees, turn off and put the tray of food in the oven. Leave the door slightly ajar to allow moisture to escape. Times vary according to the type of food but expect it to take between 5 and 10 hours to dry the food.
- Halogen oven – Heat to under 130 degrees. Spread food out on a greseproof lined cake tin and leave the lid slightly off centre to allow moisture to escape. If your oven has an extender add it to avoid any heat from damaging the surface of the food.
- Microwave Oven –lay your food slices on a paper plate or directly on to the glass turntable. Make sure they do not touch! Start with 10 minutes at Defrost, and then turn the food over. Keep doing 5 minutes until the slices are sufficiently dry.
Using a Dehydrator
It is worth getting a dehydrator if you plan to dry a lot of food and vegetables. Lay your food slices out on the drying trays and leave the dehydrator running for a few hours. Check the food regularly until it feels dry. Different foods take different times so just experiment.
The dried food is ready when it is chewy but not too hard. Try tearing a piece to see if you can see any moisture remaining and if you can give the food a little more time to dry. If you plan on making food powder you can dry the pieces a bit more to make them easier to grind.
Storage and Use
Store your food in air tight bags or containers and in a cool dark dry place, or freeze to extend its shelf life.
It is possible to pasteurize the dried food if you are worried about bacteria. To do this either heat the pieces at 175% for 10 minutes or freeze at 0% or below for a few days, then store as above.
Dried food can be used in many ways:
- Eat as is as a snack
- Add to ice cream, salads, pizzas, yogurt, oatmeal, cereal, smoothies and more
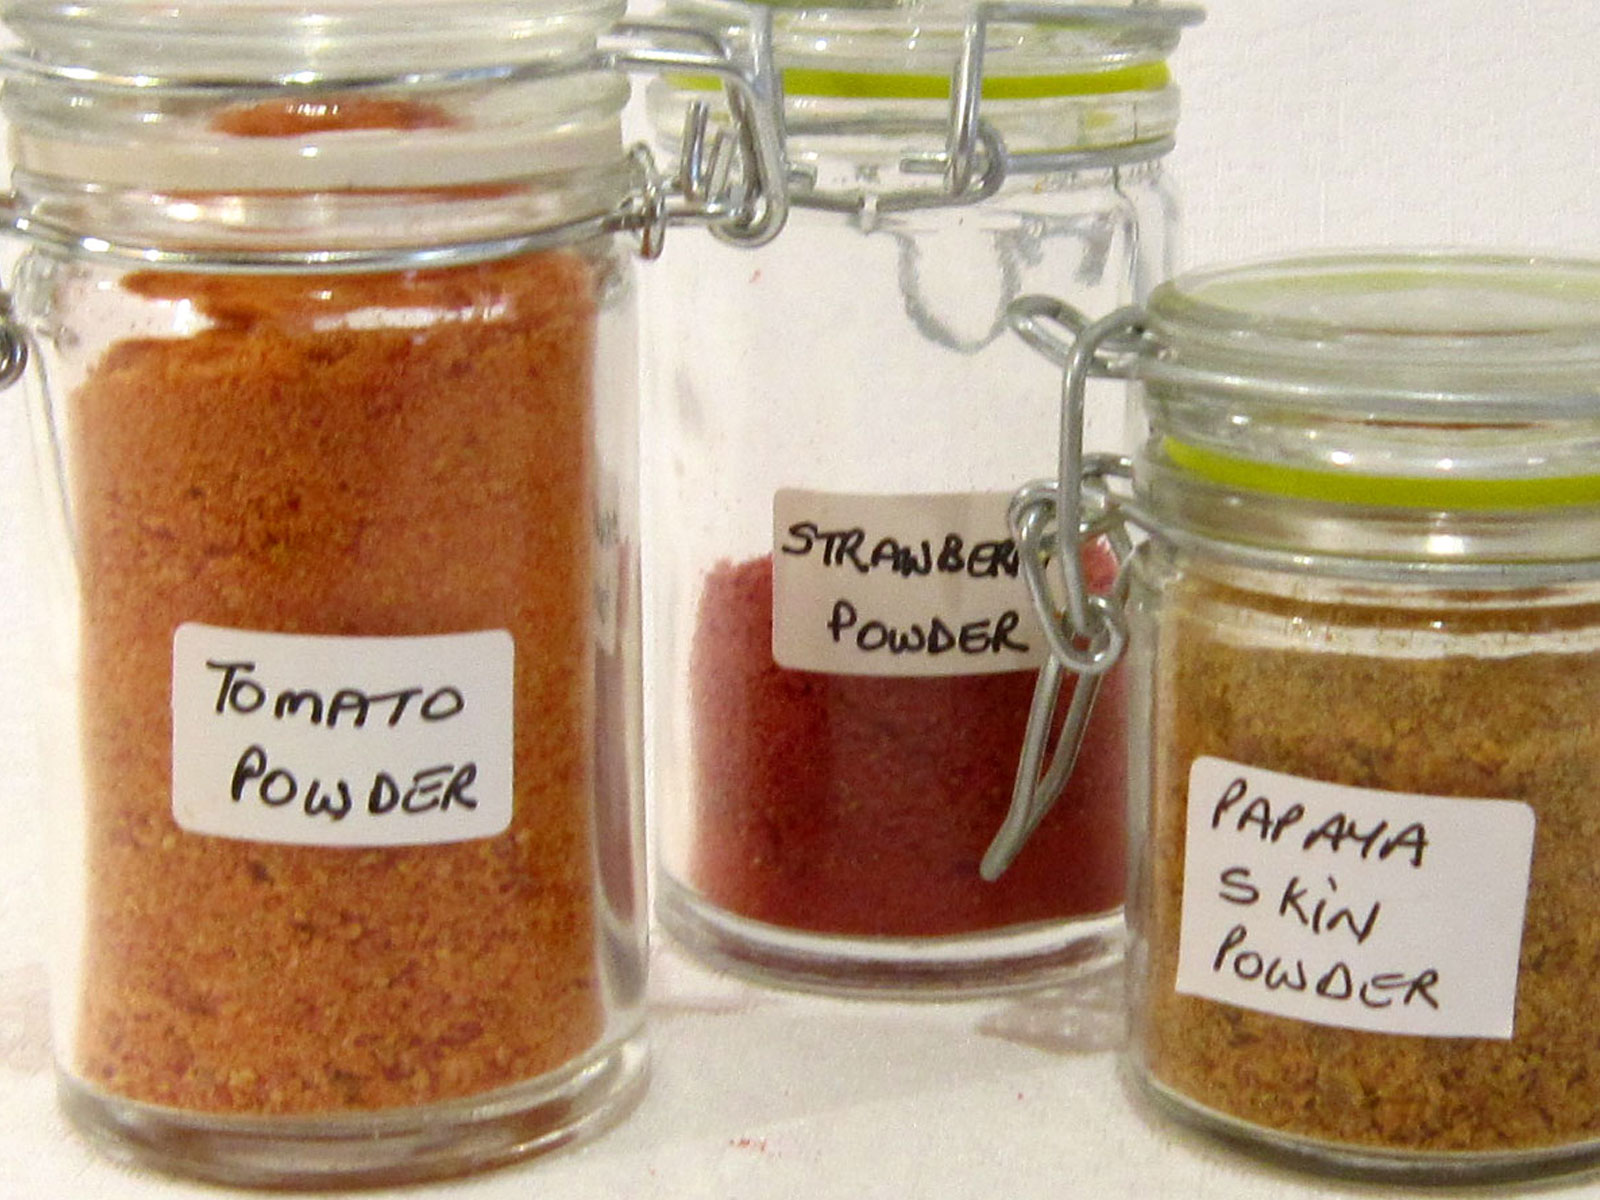
- Make in to fruit powder and use in cooking or added to drinks
- Reconstitute and make fruit leather
Finally a word of caution. Fruit contains sugar and when dried it will reduce in size but the sugar content remains the same, so for the sake of your health do not over indulge! Approximately 4 to 6 portions of fresh fruit will make 1 portion of dried fruit.